
Makeup artist Suzy Gerstein shows us how the contouring craze is officially brightening (and lightening) up, with a wave of natural cream blushes leading the charge…
This post comes to you from contributor Arden Andrews.
If you’ve ever wondered who’s behind those supernatural, cool girl flushes emanating from the faces of model Erin Wasson, St. Vincent musician Annie Clark, or ethereal Stranger Things starlet Millie Bobby Brown, look no further than It-Girl makeup artist of our dreams, Suzy Gerstein. Like a beauty encyclopedia, Suzy’s willingness to share her wealth of knowledge on everything from the best organic face oil (she swears by Root Science) to the staple she never skips (Henne Organics lip balm ) is as refreshing as it is inspiring—so when a new wave of cream blushes too pretty to pass up came my way, I tapped Suzy for her tricks and tips on how to master her signature glow. It was no surprise when she didn’t skimp on any of the rosy deets.
“Blush really is that thing that adds balance to the equation and ties the look together. I’m happy it’s made such a comeback over the last few seasons, because my love for it has never waned,” she says of the trend seen popping up on runways with fresh-faced regularity, a welcome sight after the overwhelming era of darkly chiseled cheekbones I’ve spent dozens of months ranting to her about. “I think the sheer, diffused application we’re seeing is definitely a backlash to the contouring craze,” Suzy mentions, noting that for this soft-focus effect, ingredients really do matter. “There are so many excellent natural formulas, there’s really no reason not to use one—it’s pretty tough to make egregious mistakes with cream blush because it’s just so user-friendly and forgiving.”
Below, Suzy’s friendly DO’s and DON’Ts for mastering that supernatural pop of color:
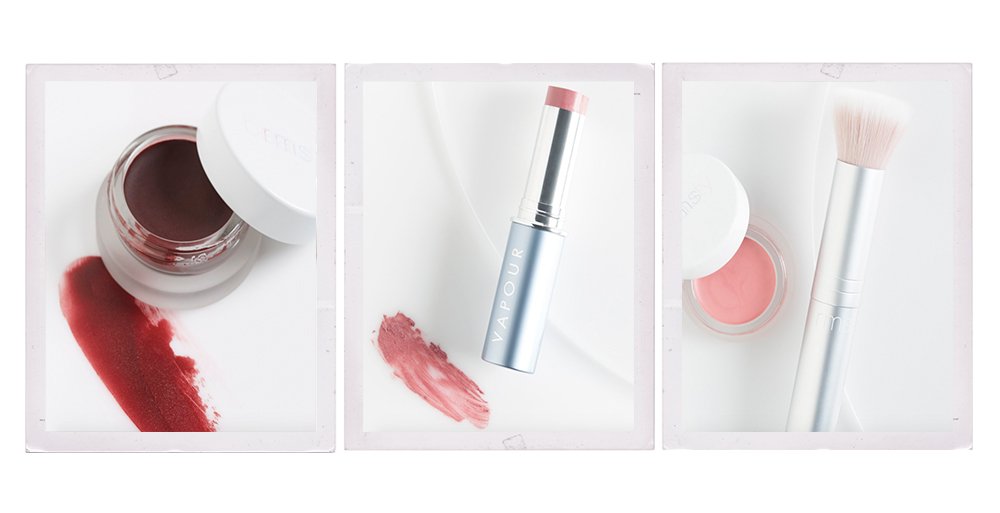
DO let it take first place: “Lately, I’ve been into applying cream blush to an otherwise bare face right after my moisturizer has had a couple minutes to sink in. I find that it then peeks through your foundation or tinted moisturizer, so it mimics a natural flush. I love the radiance imparted by coconut and jojoba oils that allow the color to just melt into the skin and look like it’s coming from within.”
DON’T just apply to cheeks: “I always add a dash of blush to the forehead, across the nose, on the shoulders, and down the sides of the neck to mimic the look of a natural flush, which doesn’t just happen like two apples on your cheeks.”
DO hone your tools: “I’m a fan of using fingertips and brushes for cream blush. I love a big, fluffy brush because you can really diffuse that color quickly and easily with a few flicks of the wrist. I run the brush over the cream formula, sketch off a bit on my hand so I can control the application, then buff the color across the cheeks.”
DO factor in your face shape: “Apply across the cheeks in the location best for your face shape: for long faces, try going straight across cheeks to break up the length. For round faces, try going up and out (in more of a gentle Nike swoosh shape) to add structure.”
DON’T rub too hard: “When we rub our face, it becomes red— and when it’s red, we think we need less color than we apply. Save yourself the trouble by using gentle, downward patting motions to go in the direction of the hair follicles and avoid disrupting the skin.”
DO spot-check your canvas: “Once the color is in place, apply foundation or concealer anywhere you see redness or discoloration — NOT all over the face — and blend it out with a blending brush.”
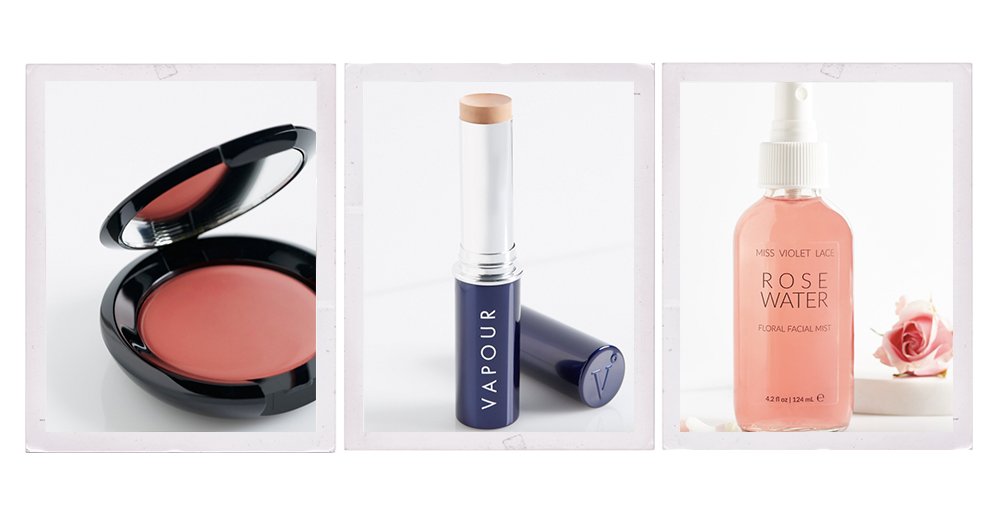
DON’T forget to marry your edges: “Take a clean blending sponge and soften the edges where your foundation and blush meet so you’re just left with a cloud of color, rather than a stamp. Be sure to check your profile in the mirror so that it looks good from all angles, and if you need to remove any formula, dampen the sponge with rose water, dip in some tinted moisturizer, and use like an eraser to pick up the color where you don’t want it.”
DO seal the deal: “Try and leave the area where you applied cream brush free of too much additional coverage. If your skin is very oily, set your color with a sheer dusting of translucent powder .”
+ Have some do’s and don’ts of your own? Comment them below and be sure to check out more beauty hacks from Arden here!
That’s cool, using the fingers to apply cream blushes. I’m still a bit scared of using them though for the bold colours, but I should try!
Charmaine Ng | Architecture & Lifestyle Blog
http://charmainenyw.com
I’ve been experimenting with my make-up routine and have struggled to find a blush that lasts! glad to hear I can get some cream blush back into my life for color that stays :-)
Absolutely love it!!
I love blush! I’m very fair, so I love adding a natural looking flush with cream blush in a peachy pink. Otherwise, I reach for a rose tinted stain. I generally steer clear of powder blush because it feels heavy on my skin.
Thanks for sharing this post and for the great tips on applying the cream blush. I’ve never tried it so this will be the perfect guide!
Love this. Great tips for a natural looking.